Scribis Live Transcription: Microphone, System Audio, and Live Translation
Set up the Scribis recording page, check the audio input, language, and recognition model, then follow live text and translation while recording.
Scribis's Record page can show recognized text as audio is captured, with an option to enable live translation. It can be used for interviews, meeting notes, or quick recordings. Before a full session, run a short test to confirm the input source and model.
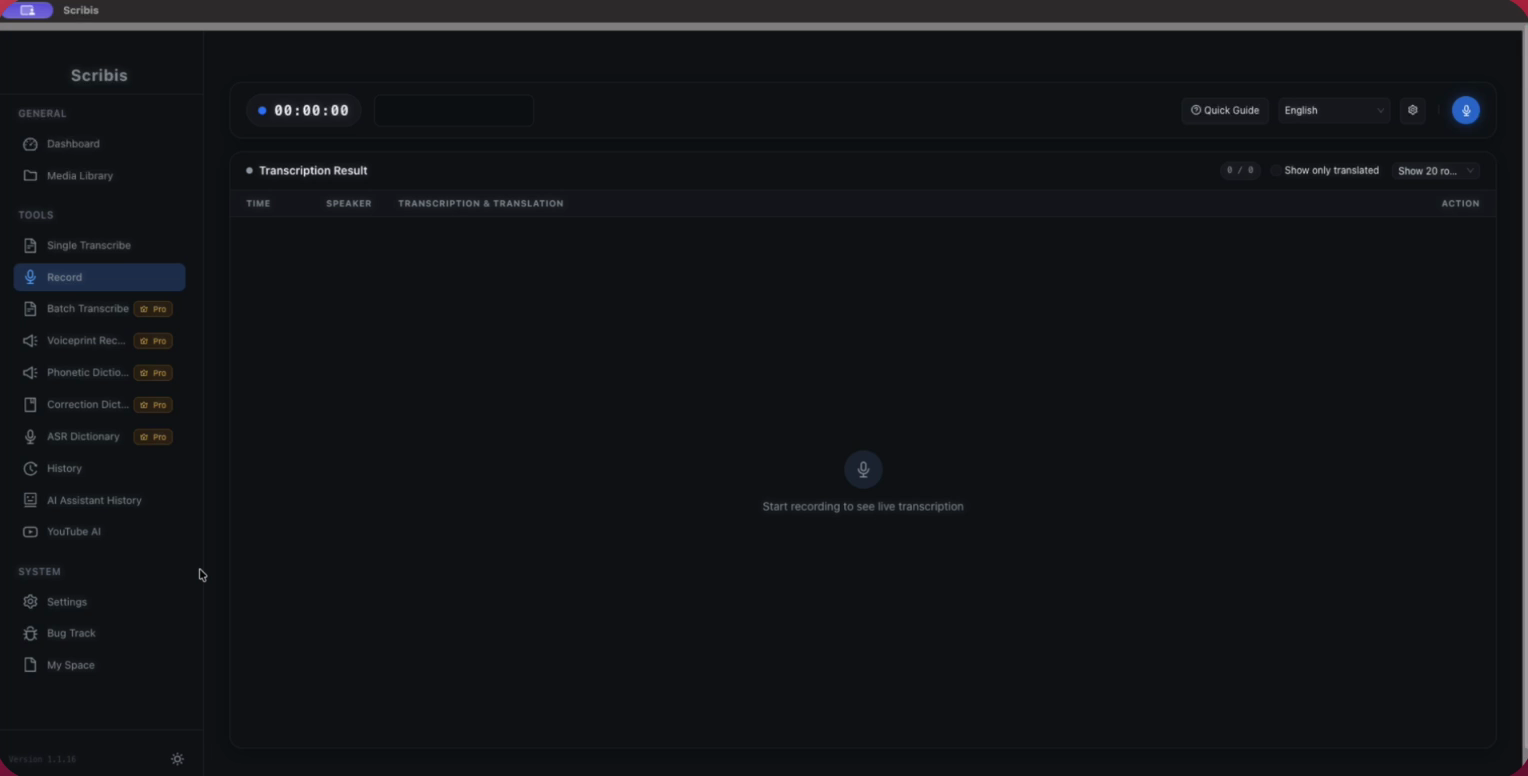
The screenshot shows the standby state before recording starts.
Before you start
- To record your voice, connect a microphone and allow Scribis to use it in system settings.
- To capture audio playing on the computer, select Record System Audio and grant the permissions requested by your operating system. Record only content you are allowed to keep.
- Confirm that the local model you want is downloaded, or that your cloud service is configured in Settings. Do not expose API keys, account details, or private audio in screen recordings or screenshots.
- Prepare 15 to 30 seconds of test material to check the volume and language before a longer recording.
1. Choose an audio source and recognition settings
Open Record in the sidebar and select the microphone. If you are recording audio played by the computer, switch to the system audio option. Speak or play a test sound and check that the volume visualization responds. If there is no waveform, check the input device and system permissions before recording the full session.
Next, choose a real-time recognition model and priority language. When the language is clear, specifying it directly is usually easier to control than automatic detection. For conversations with multiple speakers or mixed Chinese and English, compare a short sample before changing the language settings.
2. Record and check the live text
Click Start. Scribis displays the recording status, audio visualization, and incoming text segments. Check near the beginning that the text is keeping up with the audio, and spot-check names, numbers, and proper nouns. Use pause and resume if you need to stop the conversation or switch devices. A waveform alone does not confirm that the recognized text is correct.
If a translation service is configured, you can turn on Live Translation and select a target language. Translation depends on the configured service and network connection. Test it with a short sentence the first time instead of waiting until the meeting ends to discover that the service is not set up.
3. Stop, finish processing, and review
Click Stop and wait for Scribis to finish organizing the recording. When processing is complete, the content is brought into the Translation editor, where you can replay the audio and review the recognized segments and translation. Check the full recording, paying particular attention to proper nouns, numbers, negations, and speaker changes, then save or export the subtitles.
Common questions
There is no volume response: Check that the selected input device is correct, microphone access is enabled, and system audio recording is authorized. Select the device again and run another short test.
There is a waveform but no text: Check that the model is ready and the language setting makes sense, then test with a short, clear recording. Note the Scribis version, model name, and any message shown so you can investigate further.
No translation appears: Confirm that a translation service and target language are selected. Recognition and translation are separate steps; you may still see the source text if no translation service is configured.
Confirm audio capture and live recognition first, then add translation if needed. Recording limits and feature availability depend on the current app version and license; check the options shown in the app.