Real-time Speaker Diarization with Nemotron-3 in Scribis
Learn how to use NVIDIA Nemotron-3 Diarization in Scribis to identify speakers in real time during live recording and jump to speaker segments on the timeline.
In meetings, interviews, podcasts, or group discussions, live speech-to-text alone often falls short. If transcript text from multiple speakers is merged into a single block, you still have to spend extra time figuring out who said what.
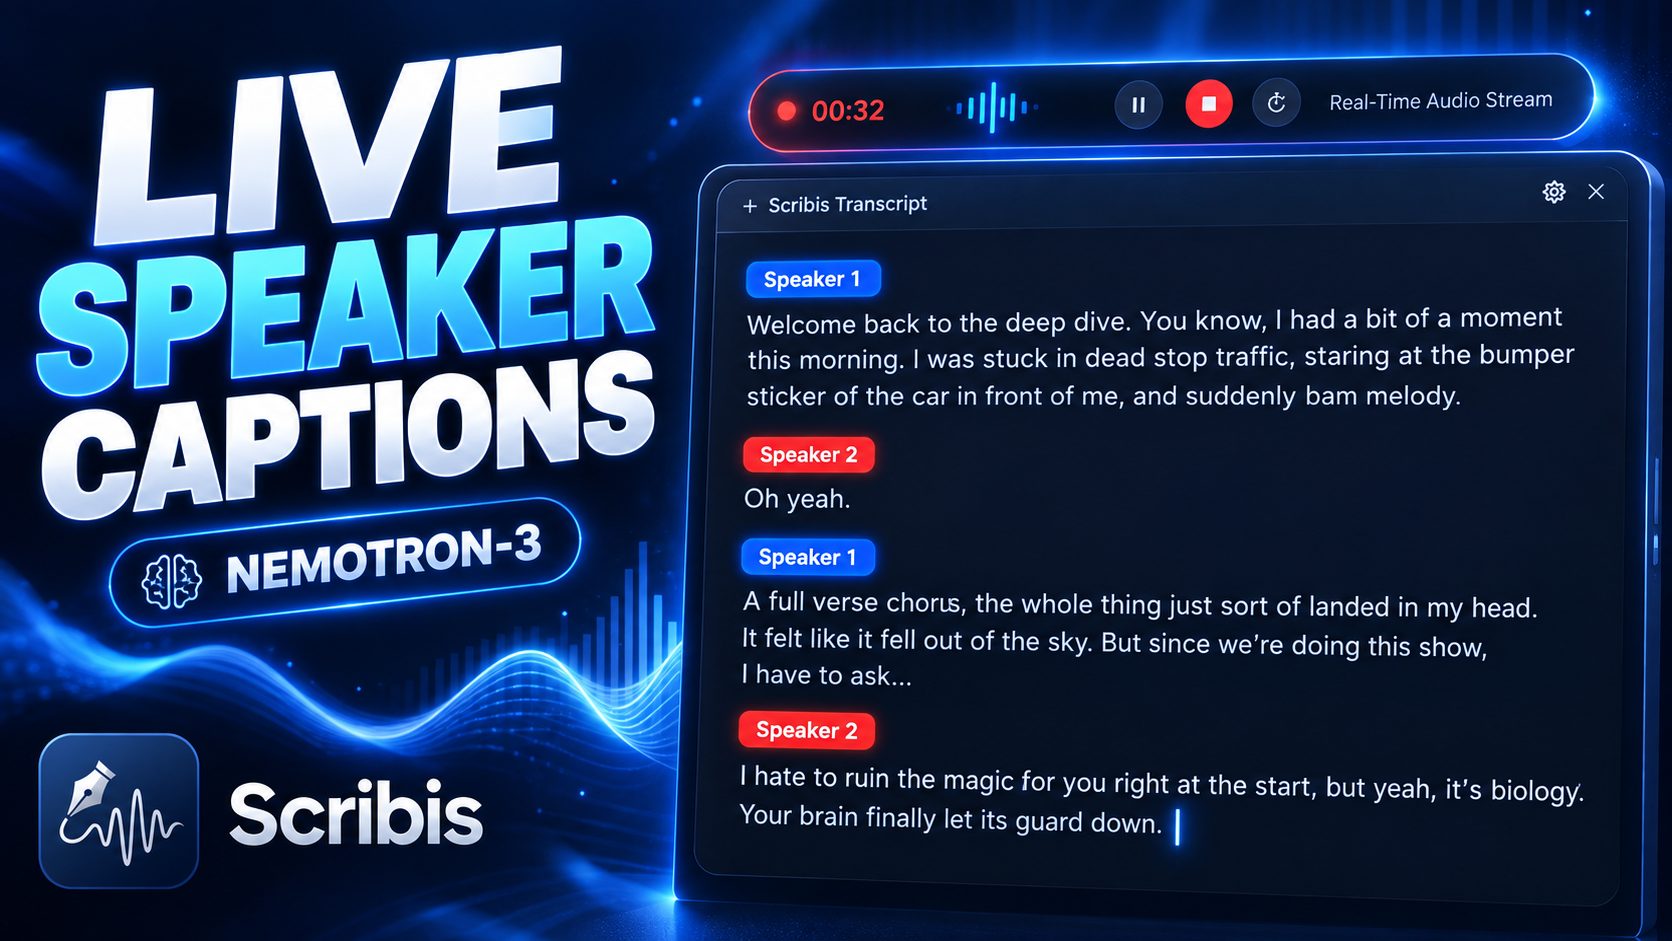
Scribis integrates with NVIDIA Nemotron-3 Diarization to identify distinct speakers during live recording and transcription, tagging each turn with color-coded Speaker labels in real time.
What You'll Learn
In this tutorial, you will learn how to:
- Download the Nemotron-3 Diarization model
- Enable live transcription and Progressive Updates
- Display real-time speaker labels while recording
- Use the timeline in Project Workspace to jump instantly to specific speaker audio segments
Scribis supports both macOS and Windows. While screenshots and examples use macOS, speaker diarization functionality works seamlessly across desktop platforms.
What is Speaker Diarization?
Speaker Diarization—often called speaker separation or speaker identification—answers a fundamental question:
Who spoke when?
Standard speech-to-text transcribes audio into text sequentially:
Welcome back to the deep dive. Oh yeah. I have to ask...
With Speaker Diarization enabled, Scribis structures the transcript clearly:
Speaker 1
Welcome back to the deep dive...
Speaker 2
Oh yeah.
Speaker 1
I have to ask...
This distinction is essential for multi-speaker meetings, interviews, and podcast production.
Step-by-Step Guide
Step 1: Download Nemotron-3 Diarization
Open Scribis Settings and navigate to:
Models → Separate Speakers
Locate NVIDIA Nemotron-3 Diarization and click download.
The Nemotron-3 Diarization model weighs only 107 MB. You don't need to download gigabytes of heavy models to unlock local speaker diarization capability on your machine.
Step 2: Open the Floating Recording Bar
Launch the Floating Recording Bar from the top bar in Scribis.
The floating bar lets you control recording and transcription while using other applications, watching videos, or hosting video calls. From the floating bar, you can:
- Start recording
- Pause recording
- Stop recording
- Monitor recording duration
- Check real-time audio input levels
Step 3: Enable Transcription and Progressive Updates
Before starting a recording, confirm that the following preferences are enabled:
- Transcription
- Progressive Updates
Transcription converts incoming audio into text on the fly, while Progressive Updates continuously refreshes the transcript stream instead of waiting for audio processing to finish.
With both settings active, your transcript streams seamlessly in near real-time.
Step 4: Start Recording
Click the Record button. Play external media or start your live session:
- Meetings & Conferences
- Interviews
- Podcasts
- Lectures & Classes
- Press Conferences
- Group Discussions
Scribis continuously captures incoming audio and generates live transcripts.
Step 5: View Real-time Speaker Identification
As Scribis detects speaker changes, it automatically attaches color-coded Speaker tags to transcript chunks:
Speaker 1
Welcome back to the deep dive. You know, I had a bit of a moment this morning...
Speaker 2
Oh yeah.
Speaker 1
A full verse chorus, the whole thing just sort of landed in my head...
Speaker 2
I hate to ruin the magic for you right at the start...
Distinct speaker tags make it easy to tell who is talking at a glance while recording is in progress.
This highlights the main advantage over standard Live Captions: standard live captions convert Audio → Text, whereas Diarization delivers Audio → Text → Speaker. You learn not only what was said, but who said it.
Step 6: Open Project Workspace After Recording
Once recording stops, open the Project Workspace.
Real-time transcriptions, timestamps, and speaker metadata are preserved inside your project. You can review the complete transcript alongside timeline waveforms.
Step 7: Jump to Speaker Segments via Timeline
Speaker Diarization extends beyond transcript tags. Scribis plots speaker turns directly onto the visual audio timeline.
Clicking any Speaker Interval instantly seeks playback to that exact audio timestamp. If you need to re-verify a comment from Speaker 2, you don't need to scrub through the entire recording manually:
Click Speaker Segment → Jump to Timestamp → Play
For long meeting recordings, podcasts, or interviews, timeline navigation saves substantial review time.
Complete End-to-End Workflow
Models → Separate Speakers (Nemotron-3 Diarization)
                        ↓
             Open Floating Recording Bar
                        ↓
    Enable Transcription & Progressive Updates
                        ↓
                    Start Recording
                        ↓
            Real-time Speaker Labels
                        ↓
            Open Project Workspace
                        ↓
    Click Speaker Interval on Timeline to Jump & Play
Key Concepts & FAQ
Why Choose Nemotron-3 Diarization?
Scribis includes Nemotron-3 Diarization as a compact, high-efficiency speaker diarization option. At just 107 MB, it integrates cleanly into local desktop workflows without heavy memory overhead.
It is particularly effective for:
- Live subtitles & captions
- Meeting minutes & notes
- Podcast editing
- Interview transcripts
- Multi-person audio recordings
- YouTube and video transcription
Nemotron-3 runs entirely on-device, meaning speaker diarization does not require sending raw audio to external servers.
Live Captions vs. Speaker Diarization
Without diarization:
Hello everyone. Hi, thanks for having me. Let's start with today's topic.
With speaker diarization: Speaker 1
Hello everyone.
Speaker 2
Hi, thanks for having me.
Speaker 1
Let's start with today's topic.
For single-speaker audio, live captions work fine. But for conversations involving two or more participants, diarization provides critical structure.
Recommended Use Cases
- Meeting Records: Instantly attribute decisions and action items to specific attendees.
- Podcasts: Establish clear speaker structures right during the initial recording stage.
- Interviews: Automatically separate interviewer and interviewee dialogue without manual editing.
- Lectures & Discussions: Distinguish teacher instructions from student questions.
- Video Content: Create structured transcripts and subtitles while watching external videos or webinars.
Summary
Setting up real-time speaker diarization in Scribis takes just a few steps:
- Navigate to Models → Separate Speakers
- Download Nemotron-3 Diarization
- Open the Floating Recording Bar
- Enable Transcription and Progressive Updates
- Start recording
- Monitor real-time Speaker 1, Speaker 2 labels
- Jump directly to speaker segments on the Project Workspace timeline after recording
With Nemotron-3 Diarization, Scribis transforms live transcription from simply "what was said?" into "who said what, and when?".